A Step-By-Step Guide to Planning Your Locker Room Layout
A well-designed locker room creates a positive impression, improves operational efficiency, and ensures user satisfaction. On the other hand, poor planning leads to cramped conditions, frustrated users, and wasted space that could otherwise generate revenue or improve functionality.
This step-by-step guide walks you through planning your locker room layout, from the initial assessment to final implementation. You’ll discover proven strategies that facility managers across various industries use to create functional, efficient locker room spaces that meet current needs and future growth.
Step 1: Assess Your Space and User Requirements
Start by conducting a thorough evaluation of your available space. Measure the room’s dimensions, noting any architectural features, such as columns, windows, or irregular walls that might influence your layout. These features can determine whether you can install tall lockers or must consider shorter units, document the ceiling heights.
Next, analyze your user base. For example, a high school locker room serves different needs than a luxury spa or warehouse facility. Consider peak usage times, typical storage requirements, and how long users spend in the space. Schools need lockers that accommodate textbooks and personal items, while gyms require space for sports equipment and clothing changes.
Calculate your capacity requirements and add a 20 percent buffer to prevent overcrowding during unexpectedly busy periods to best determine maximum occupancy during peak hours. This buffer ensures users can access their lockers comfortably without creating bottlenecks.
Step 2: Choose the Right Locker Types and Sizes
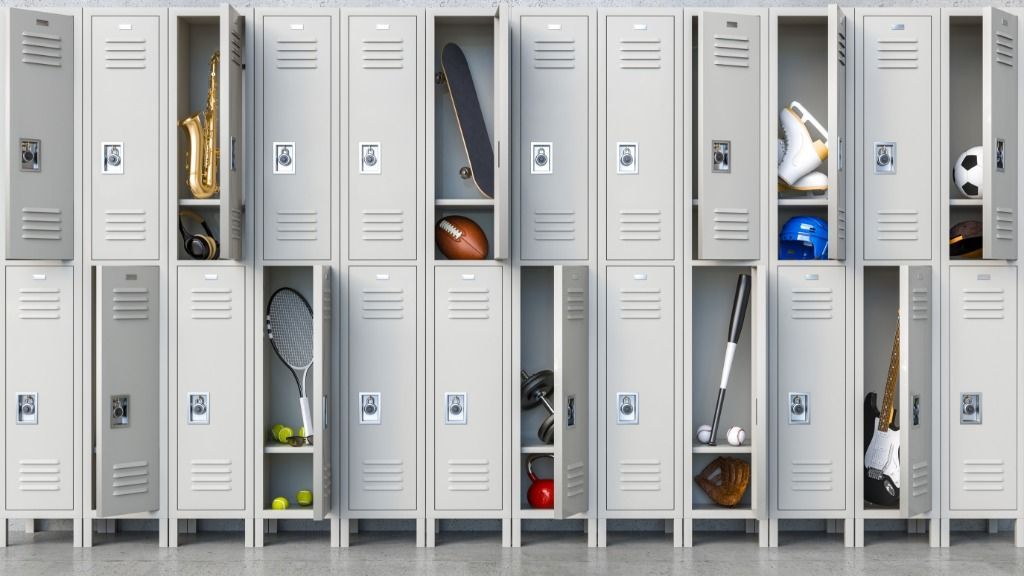
Your facility type directly influences locker selection. Gyms benefit from ventilated lockers that allow air circulation and prevent odor buildup. Schools often require larger compartments for backpacks and textbooks. Spas might prioritize aesthetically pleasing units that complement their luxury environment. You must consider different locker configurations to best serve your facility and its members.
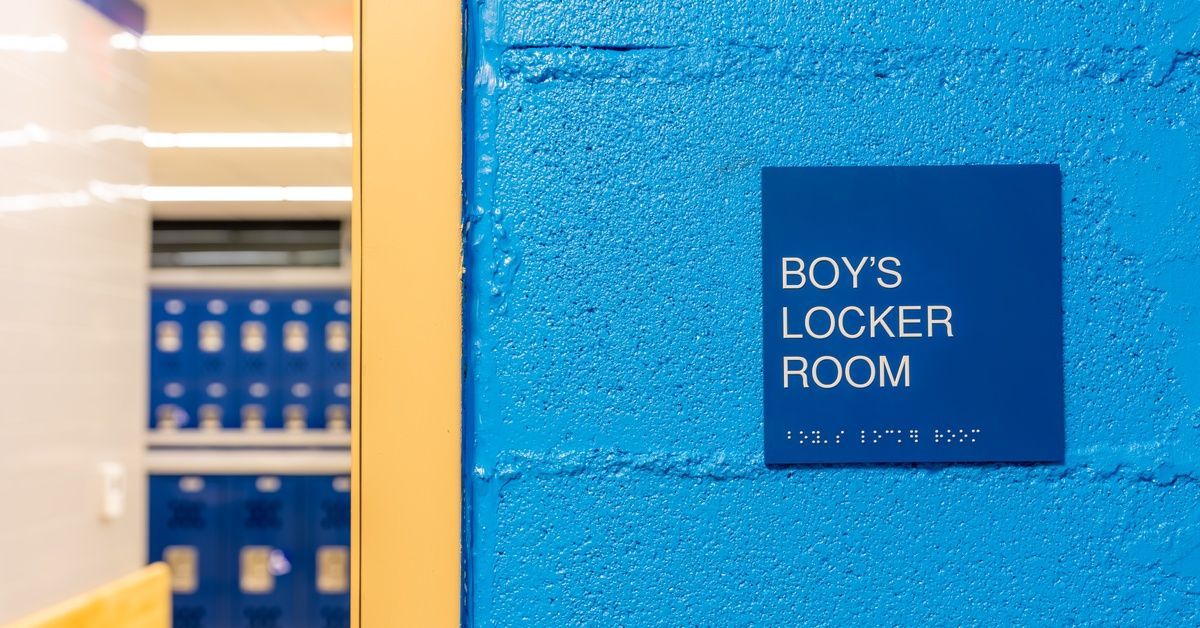
Schools
Standard 12"x12"x60" lockers work well for most educational environments. Tier these units and accommodate for varying heights to maximize storage and maintain easy access when using metal lockers for schools.
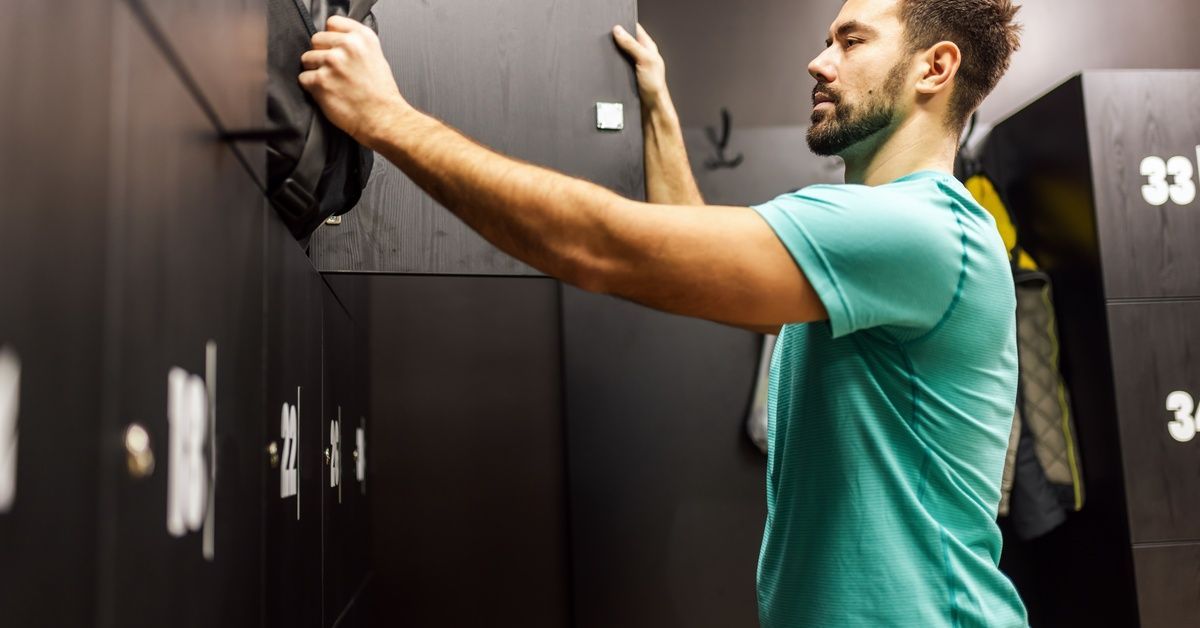
Gyms and Recreation Centers
Ventilated athletic lockers prevent moisture buildup and odors. Choose units with sloped tops to prevent members from storing items on top, creating cleaning challenges and safety risks.
Spas and Country Clubs
Wooden or laminate lockers create an upscale appearance. Consider units with built-in benches or additional amenities that enhance the user experience.
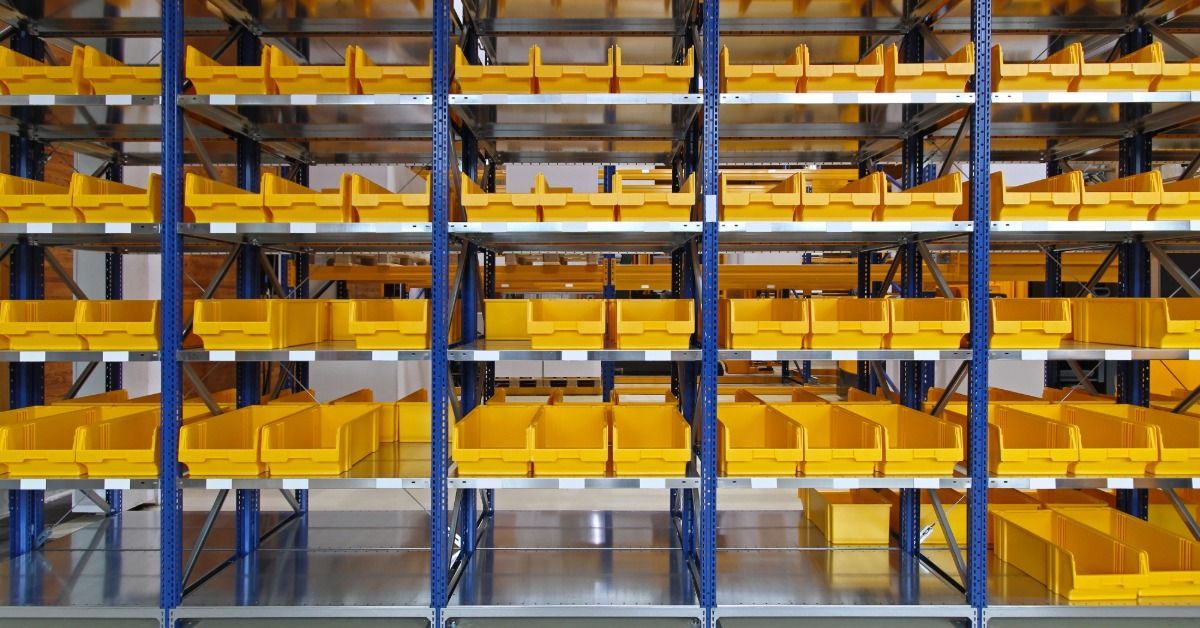
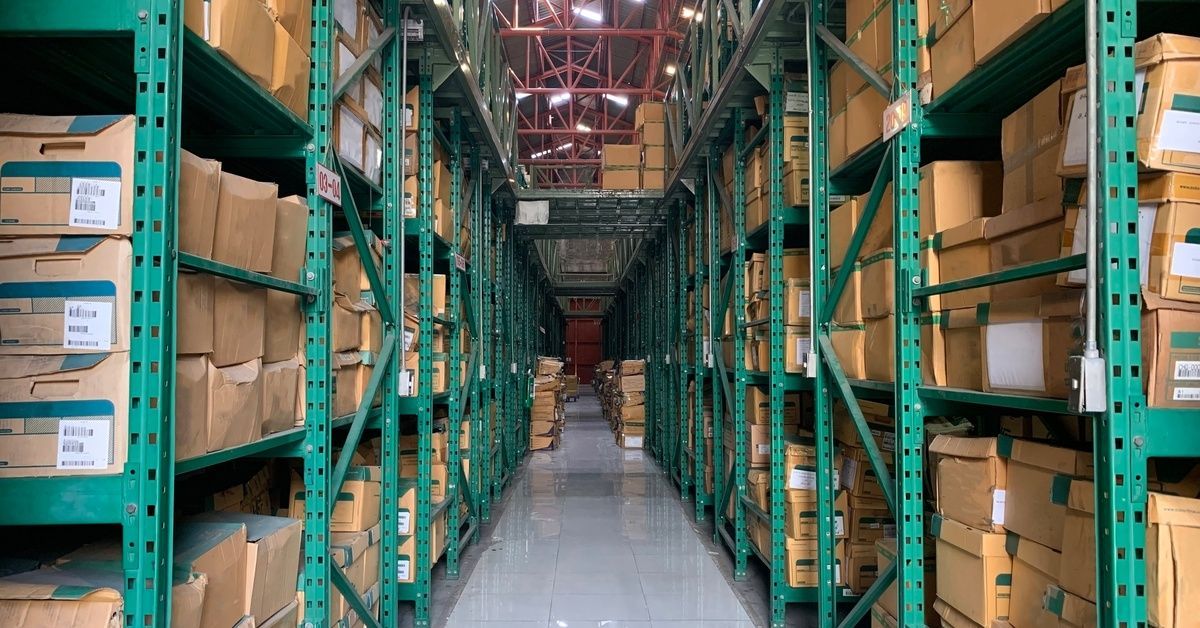
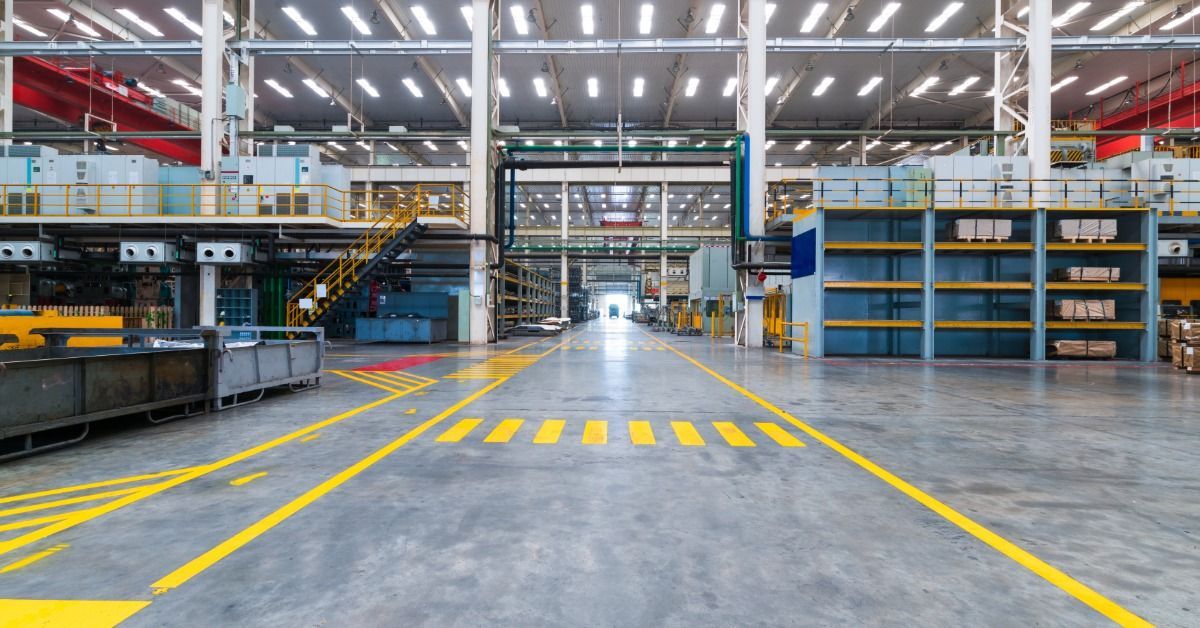
Warehouses and Industrial Facilities
Heavy-duty metal lockers withstand harsh conditions. Security features become particularly important in these environments.
Step 3: Plan Traffic Flow and Accessibility
Design your layout to accommodate natural traffic patterns—users should move efficiently from the entrance to lockers to changing areas without creating congestion. Create wide main aisles (minimum of six feet) and narrower secondary aisles (minimum of four feet) between locker rows.
Position commonly used amenities, such as benches and mirrors, in easily accessible locations. However, remember to avoid placing these items where they might obstruct traffic flow or create bottlenecks during peak usage periods.
Designate accessible locker spaces at appropriate heights to guarantee compliance with the Americans with Disabilities Act (ADA) requirements. These lockers should connect to accessible routes and provide adequate maneuvering space for wheelchair users.
Additionally, consider sight lines throughout the space. Good visibility enhances security and allows staff to monitor the area effectively. Avoid creating blind spots where inappropriate behavior might occur unnoticed.
Step 4: Optimize Space Utilization
Maximize your available square footage through strategic locker placement. Double-tier units work well when ceiling height permits, effectively doubling your storage capacity. Triple-tier lockers are best for facilities with high ceilings and users who need minimal storage space.
Install the lockers along walls first, then add island configurations in the center of larger rooms. Keep in mind that islands create additional storage while maintaining good traffic flow when properly positioned.
Also, consider corner units and custom configurations for irregularly shaped spaces. Modern locker manufacturers offer solutions that fit virtually any architectural challenge, ensuring you utilize every available inch.
Factor in future expansion needs by installing electrical conduits and plumbing rough-ins that accommodate potential additions or modifications. This foresight prevents costly renovations when your facility’s needs change.
Step 5: Incorporate Essential Amenities
Benches provide necessary seating for users changing clothes or organizing their belongings. Position the benches perpendicular to each locker row for easy access that maintains clear pathways. Plan for one linear foot of bench seating for every three to four lockers.
Install adequate lighting throughout the space. Users need bright, even illumination to locate their belongings and navigate safely. LED fixtures offer energy efficiency and long service life, reducing maintenance costs.
Provide sufficient electrical outlets for hair dryers, phone chargers, and other personal devices. Modern users expect convenient access to power, and meeting this expectation enhances satisfaction. Always include appropriate ventilation systems to manage humidity and odors. Poor air quality creates unpleasant conditions that reflect poorly on your facility management.
Step 6: Address Security and Privacy Concerns
Select locking mechanisms appropriate for your user base and security requirements:
- Key locks: Offer maximum security, but require key management systems.
- Combination locks: Eliminate key concerns, but may frustrate users who forget codes.
- Digital locks: Provide convenience and audit trails, but require power sources and technical support.
Position changing areas away from the main traffic flow and use privacy screens or architectural elements to shield these areas from casual observation. Always respect your users’ privacy when installing security cameras in common areas. Display clear signage, informing users about surveillance, to demonstrate your commitment to security.
Also, consider implementing access control systems that restrict entry to authorized users only. Card readers or keypad systems prevent unauthorized access while creating usage logs for security purposes.

Step 7: Plan for Maintenance and Cleaning
Design your layout with maintenance requirements in mind and provide adequate space for cleaning equipment. However, avoid creating tight spaces where dirt and debris accumulate.
Choose materials that withstand frequent cleaning and disinfection. For instance, stainless steel and powder-coated finishes resist corrosion and maintain their appearance longer than basic painted surfaces.
Install floor drains in appropriate locations to facilitate cleaning and handling any water issues. Proper drainage prevents standing water that creates slip hazards and promotes bacterial growth. Plan for locker numbering systems that remain legible over time—engraved or embossed numbers last longer than applied labels that peel or fade with repeated cleaning.
Transform Your Locker Room Today
Now that you have this step-by-step guide to planning your locker room layout, you can design your facility based on your users’ specific needs. Create a functional space that serves your facility effectively for years to come by following these systematic steps.
Are you ready to optimize your locker room? Reach out to the experts at Tyler Supply Company to discover the perfect lockers for you. Our experienced team helps facility managers across all industries create locker room solutions that meet their unique requirements and exceed user expectations.